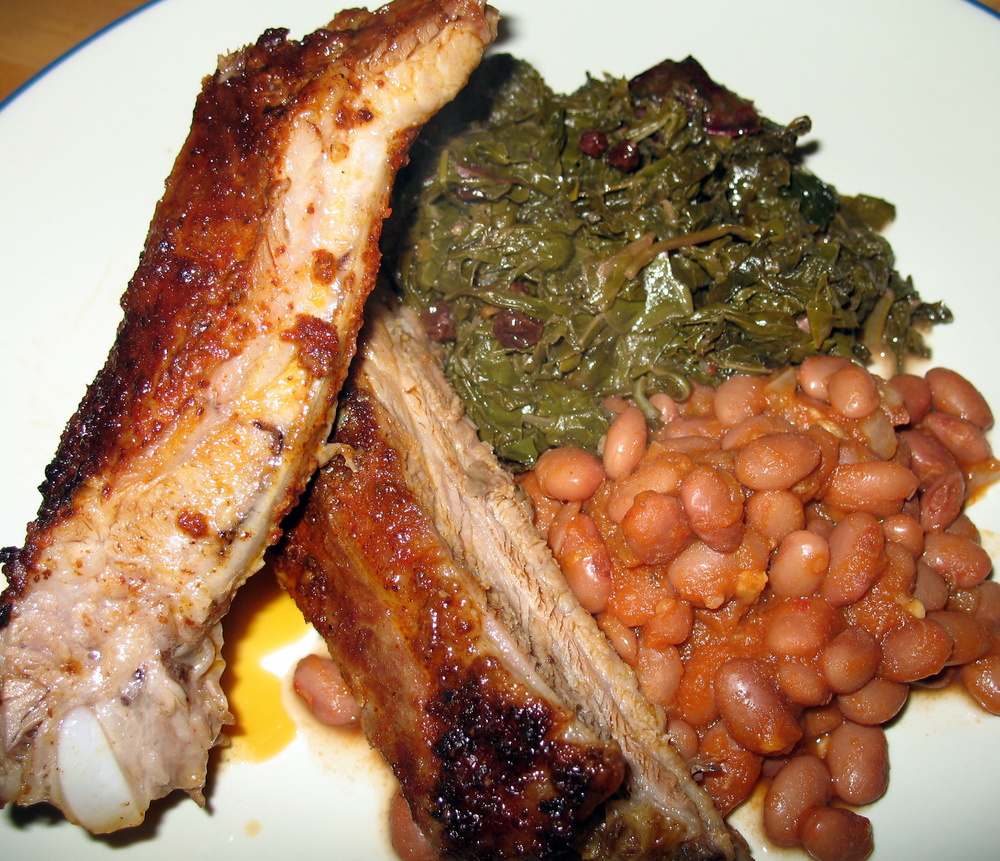
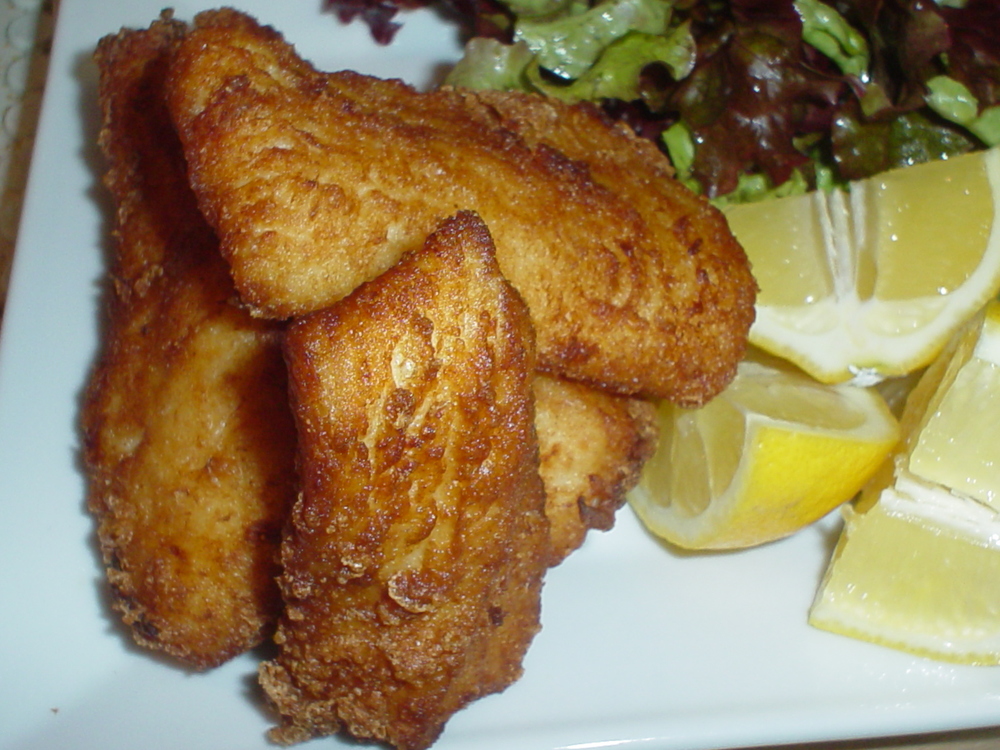
 photo by Antoinne von Rimes
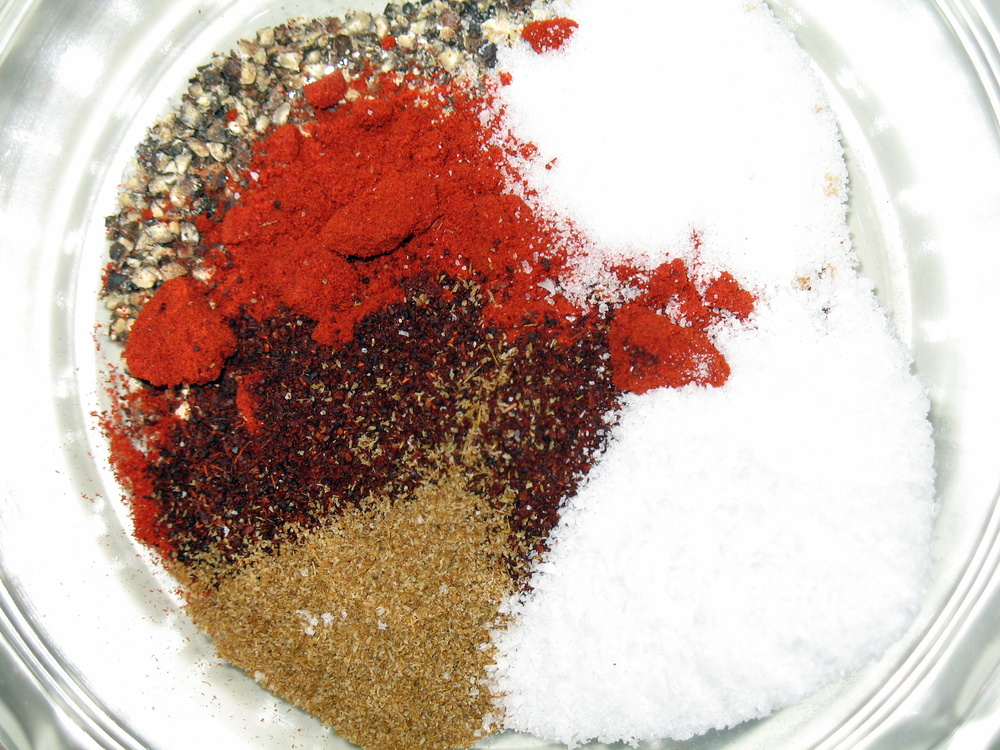
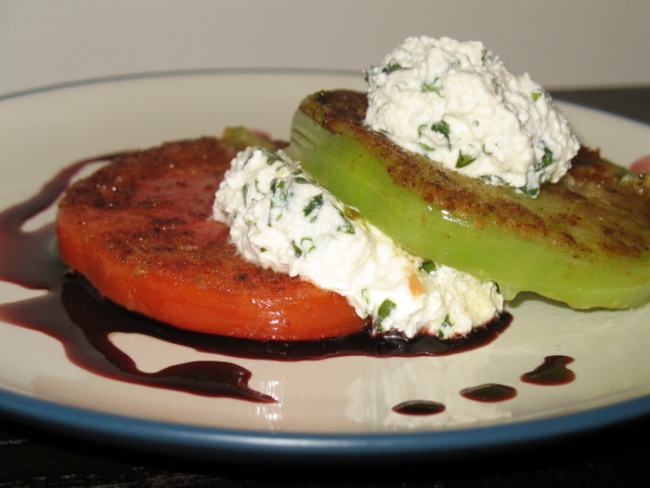
The Germans have a word for it: Schadenfreude. It loosely translates as taking pleasure in other people’s misfortune. I experience this gleeful emotion every time I watch a show like the CHOPPING BLOCK, NBC’s reality, restaurant, cooking-game show which seems to be a blend of the Last Restaurant Standing, the Apprentice, and that fiasco with Rocco di Spirito a few years back.
The Chopping Block is back on the air after suddenly being dropped off the schedule a couple of months ago. I guess that was because of low ratings or something, but happily for me it is back on now.
I like the show, even with the over the top monarchial attitude of host Marco Pierre White, noted chef and restaurateur. Chef Pierre White seems to believe he is Machiavelli giving advice to members of the de Medici clan. Chef Pierre White gives basic lectures on the blatantly obvious, but it seems to be brilliantly acute advice for these contestants.
I do not know if it is the hot lights or the cameras that make people on Reality shows lose every ounce of common sense and drains them of the ability to think. There should be a mathematical equation which states: As the value of the prize increases, the contestant’s I.Q. and ability to reason decreases, and this is inversely proportional to their greed.
I am constantly amazed at the dumb things people do on these shows. It is beyond me why people who have never worked in a restaurant would want to open a restaurant, and who are convinced they can operate a successful restaurant. I can cook a mean breakfast, and can cook eggs like the no one on earth, but you do not see me jumping to the conclusion that I have the knowledge base to open a little breakfast nook someplace and make a fortune on my superior ability to roll a French omelet .
No, what I just stated to you was how I am a good cook----eggs mainly. I did not say I knew anything about cooking eggs day in and day out for weeks on end, dealing with suppliers, employees, banks, landlords, acts of god, and the government. No. I said I like to cook eggy things and I am pretty damn good at it — nothing more.
The people on these shows have not taken a true stock of their situation, abilities, and limitations. Most of them would be better situated as caters, private chefs, corporate chefs, and backyard/weekend soirée chefs.
The cowboy world of the chef owner operator is a rarified world reserved for those men and women who leap tall buildings in a single bound, pull the mask off the old Lone Ranger, and would slap Mike Tyson simply because it would feel good. The kind of people who become successful chef owner operators are more than often neurotic, misanthropic, angst ridden, demon plagued, narcissistic, ego maniacs who are just as likely to end up in prison as in front of a hot pan.
These creatures called chef owner operators are akin to the frontiersmen of days of old. Those brave psycho bastards who did not go out into the wild to discover unknown territory, but went out there to be where no one else was because they could not stand other people.
This is not the caliber of individuals who populate restaurant Reality shows. No, these people/contestants are acting like some guy who just got his girlfriend to pay for dinner and he now thinks he can be a pimp. Well, pimpin' ain’t easy and neither is running a restaurant.
Running a restaurant is war. Running a restaurant is like running the U.S. State Department in high heel Manolo Blahniks and carrying a heavy tray over your head. Running a restaurant is what God plans to do when he retires.
Running a restaurant makes for very good comedy though. Watching the Chopping Block is as close to Three Stooges slapstick comedy as it gets.
So, watch the Chopping Block, and thank your lucky stars you are not one of those poor bastards clawing for their own restaurant to run. I for one will be home holding my side while I laugh an even bigger stitch into it as these unprepared dreamers try to catch a tiger by the tail.
Schadenfreude... damn good word.